Friday, 31 March 2017
How to Create an Emulator in Android Eclipse
In the previous post we saw how to create an sample Android app.
Now we will see how to create an Emulator.
An Emulator is the software which will resemble our Android phone's features in order to run the applications we have created in Android Eclipse or Android Development Tool(ADT).
In Android Studio also we use the Emulator to Run the applications we have created.
Let us see how to create an Emulator also called as Android Virtual Device(AVD).
I have created an Info graphics for the easy understanding.
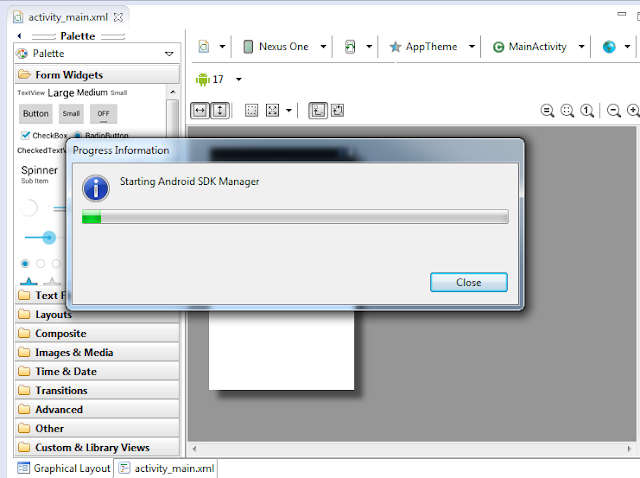
1. Open Android SDK Manager
2. Install the required SDK platform and System Image.
3. Open Android Virtual Device Manager.
4. Create New AVD
5. Enter the AVD name , Target version and device then click OK
Then after clicking OK, You can start the created AVD or you can select the AVD at the time of running the application, but it is recommended to start before running the application, because the AVD takes more time to open.
So if you start the AVD before starting coding at the time of execution it will be opened so you can get the output fastly.
Then Launch the AVD...
It will take some time to load , so minimize it and start coding...
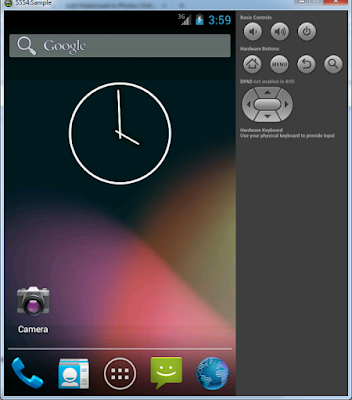
After the AVD or Emulator is opened it will look like..
If the above step is followed to create an Emulator mostly the error wont come. If the Emulator is not working properly then close the emulator and re launch it.
We have successfully created the emulator , if you find any difficulties in creating the Emulator mail me to narain2829@gmail.com i will reply you the solution to your queries within a day...
But it is recommended to use our Android Mobile Phone as Emulator since it is faster than the AVD or Emulator.
In next post i will tell how to use our mobile as an Emulator.
Read Here:
How to use Android Phone as an Emulator
Subscribe to:
Post Comments
(
Atom
)


No comments :
Post a Comment